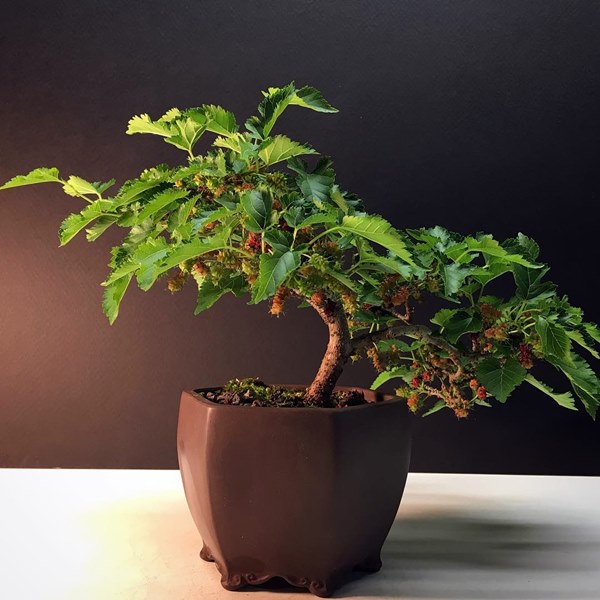
How to Grow Mulberry in Pot | Mulberry Care in Pot
Learn how to Grow mulberry in pot in a cinch by going through this post. Dwarf mulberries are small and can fit into any pot with ease.
Botanical Name: Morus alba
USDA Zone: 5-10
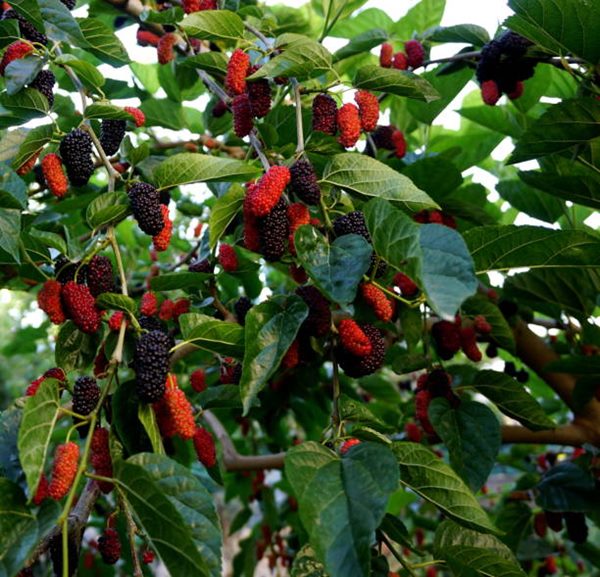
Sweet and tangy mulberries are a treat for the tastebuds, but it’s hard to find them anywhere, be it a vegetable market or supermarket. They come in red, white, and black varieties and are enjoyed by both people and birds. The short shelf life of the mulberries is to be blamed for the lack of availability. The good news is that you can grow the mulberry tree in the pot and enjoy the berries throughout the fruiting season. Also, by growing mulberry in the pot, you’ll save up space and protect it from severe cold. After going through this post you’ll be able to grow mulberry in pot without any difficulty.
How to Grow Mulberry in Pot
Choose the right type of mulberry that is dwarf mulberry cultivars as they will do well in the container. Don’t be shy with container size, and start with a pot that’s at least 5 to 7 gallons. Use a high-quality potting mix that’s well-draining and rich in organic matter. Keep the soil moist by watering thoroughly and consistently but avoid overwatering. Fertilize twice a month using a well-balanced fertilizer during the growing period.
Propagating Mulberry
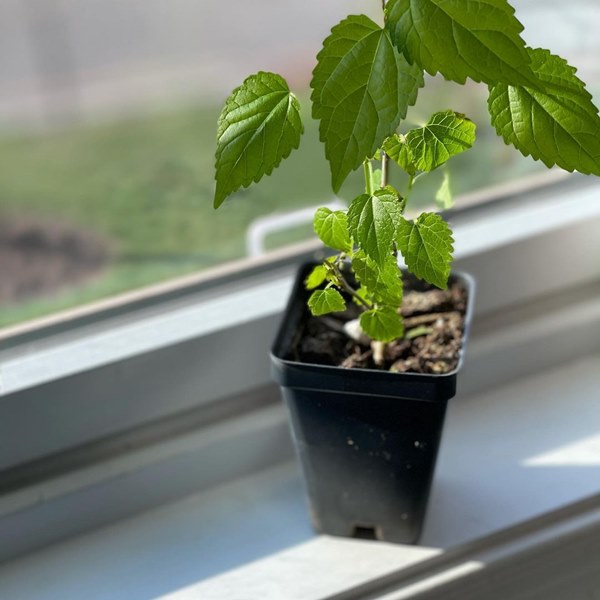
You can propagate mulberry trees from cuttings, grafting, or seeds from which propagation from cutting is faster and more convenient. You also get an early harvest by propagating mulberry from cutting. If you get the mulberry plant directly from the nursery, make sure to ask for the dwarf mulberry variety.
Propagation from Seeds:
- Soak ripe mulberry for 24 hours in water and later squish the berries to obtain seeds.
- Place the seeds on the paper towel and wait for them to dry completely.
- Put the dry seeds on moist filter paper and place them in a Ziploc bag.
- Place the Ziploc back in the refrigerator for 90 days or more for stratification.
- Sow the seeds in a well-draining potting mix just below the surface and locate them in a well-lit spot.
It takes anywhere from 2 to 6 weeks for the seeds to germinate, transplant seedlings in separate pots after they germinate.
Propagation from Cutting:
- Using a sharp and sterile tool, take softwood cuttings 4-6 inches in length above the node.
- Remove the leaves from the bottom half of the cutting.
- Dip the rooting end into rooting hormone and plant a cutting couple of inches deep in the container.
- Cover the cuttings with a transparent plastic sheet or bag to create a greenhouse-like effect.
- Locate the cuttings at a spot with bright indirect light; check weekly and mist if the potting medium feels dry.
In 4-6 weeks, the cuttings will root, after which you can transplant the mulberry plant in a separate pot.
NOTE: Commercially grown mulberry are either bisexual or self-pollinating, which means it’ll fruit by itself. So, it’s advisable to grow mulberry from a fruiting mulberry cutting or buy it from nursery as male mulberry won’t fruit!
Mulberry Varieties
As mentioned above, you should choose dwarf mulberry varieties if you want to grow mulberry in the pot. Chaparral, Dwarf Everlasting, Mulberry Issai, and Weeping White Mulberry are excellent dwarf mulberry cultivars that do well in containers. By pruning after the mulberry fruits, you can keep these dwarf cultivars contained to the size of 2 to 6 feet.
Choosing the Container
Initially, go for a pot that’s 12 to 14 inches deep as it will accommodate mulberry for a couple of years. Once the shrub outgrows the parent pot, you can transplant it to a pot that’s a couple of inches bigger. Ensure that the pot has drainage holes at the bottom; if not, drill some holes.
Location
Your best bet is to place the mulberry tree at a spot that receives 6-8 hours of direct sunlight. Tropical and subtropical regions protect the afternoon sun, especially in summers, to prevent sunburn.
Soil
Choose a good quality potting medium that’s well-draining and amended with quality compost. Slightly acidic to neutral soil works best for mulberry. Check for peat moss, perlite, or vermiculite on the label, as an excellent potting mix contains these materials.
Watering
Water when the soil is dry one inch from the surface, which you can check by scratching or poking the soil’s surface. In the initial days when the plant is not well established, you should keep the soil consistently moist once the tree is established water moderately. The soil will dry out quickly in summers, so you need to water more frequently.
Fertilizer
Apply well-balanced fertilizer liquid once or twice a month in the growing season to boost plants growth. Watering with compost tea is another organic way to add nutrients to the potting medium if you don’t want to retort to chemical fertilizers. Aged manure and quality compost can also do wonders for mulberry growth.
Also Read: Fruits that grow in Pots
Mulberry Tree Care in Pot
Pruning
Remove dead and decaying parts of the plant to redirect the energy towards healthy growth. The ideal time to prune is in winters when the plant is dormant or right after summer in tropical regions. Wait for mulberry to finish fruiting before you decide to prune.
Mulching
In summers, mulching will prevent the potting mix from drying out too quickly, whereas, in winters, it will insulate the roots from cold. Add a couple of inches of mulch over the topsoil, and you are good to go.
Pests and Diseases
Mulberry in pots will hardly be affected by pest infestation, but if you see pests lurking around, simply handpick them. Root rot and mildew can cause some level of damage to the plant, which you can prevent by keeping watering in check.
Harvesting
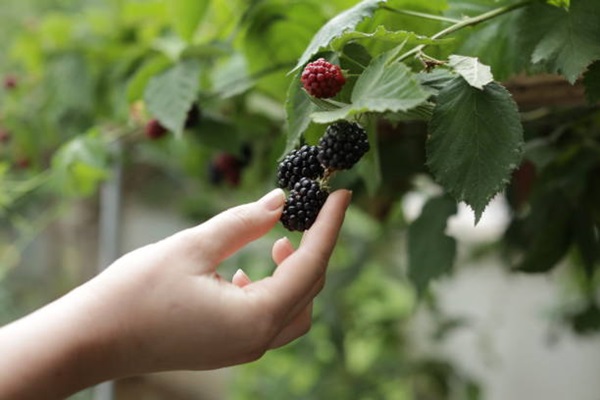
Mulberry will ripen for harvest from late spring to summer, depending on the variety and time of planting. Ripe mulberries will drop by themselves, so you can place a sheet at the tree’s base and shake branches to collect the berries. Also, mulberries can stain hands and clothes, so be cautious while harvesting and wear gloves.